DATE: Feb 11, 2010
AUTHOR: Jacopo Cappellato
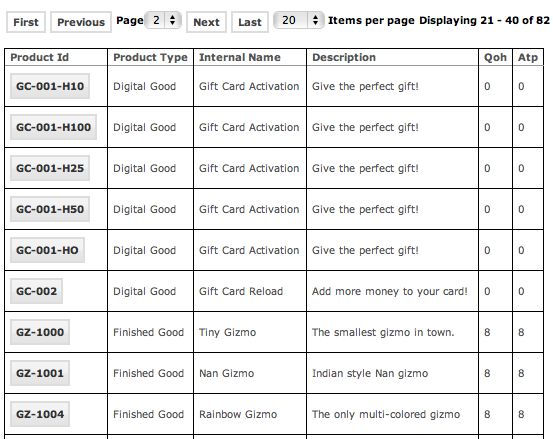
At the end of the last post in our OFBiz tutorial series we have completed the final version of a simple product list screen completely based on OFBiz widgets.
The end result is this:

Our next goal, the subject of this post, is to provide a CSV (Comma Separated Value) export of the same list of products; we will do this by reusing as much as possible the artifacts already implemented for the html screen.
A CSV file is a widely used simple format for the exchange of data between different software systems; for example, Microsoft Excel can easily import a CSV file into a spreadsheet. From a technical point of view a CSV file is a plain text file where each line represents a row from a list of homogeneous data, and the fields are separated by the comma character.
CSV exports are supported out of the box by the OFBiz widgets.
In this excercise we will:
We will add a link from the product list screen to invoke the product CSV export screen. The definition of a link element in a screen is easy:
the “container” element is not mandatory but we have used it in order to create an invisible region of the screen for the links (we will add a new link in our next post, for PDF exports)
The entries are very similar to the ones we have implemented in a previous post for the product list screen. There are just a couple of things to notice:
There isn’t anything special in a screen definition for a CSV export; the screen is defined in the same way of a normal screen, except for a couple of details:
The screen definition is mostly identical to the “product list screen”
The exercise is complete and we can test the product export by clicking the “CSV Export” link (there is no need to restart OFBiz).
Implementing the CSV export ended up being a trivial task because, thanks to the OFBiz widgets, we have reused most of the work we did for the html screen.
In the next tutorial post we will perform similar steps to implement the PDF version of the same screen.
– Jacopo